Our Blog
Latest news and updates from PiVPS
How to configure static IPv4 of your Windows VPS
By default, our machines come with your main IP address installed. You will need to upgrade your machine in our client area if you need additional IP addresses. After this, you can start assigning the IP addresses to your windows machine.
Prerequisites
- Administrator login credentials.
Step 1: Connect to RDP
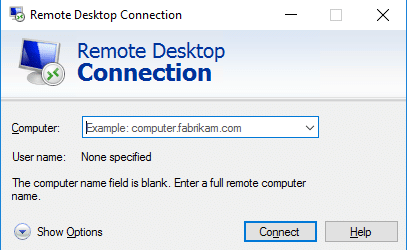
Connect to your VPS using Remote Desktop with your Administrator login credentials.
Step 2: Go to Network and Sharing Center
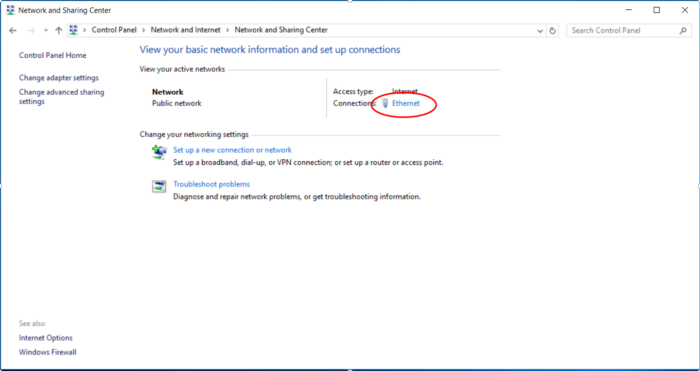
Go to Start > Type in Control Panel and open Control Panel > Network and sharing center and press View network status.
Step 3: Go to Ethernet Status
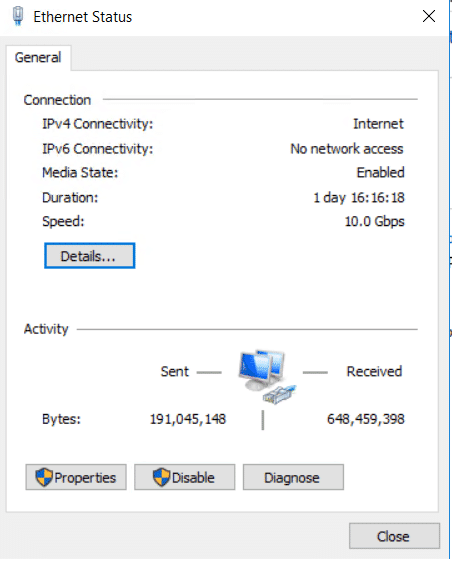
Click on Ethernet. This will open the Ethernet status window.
Step 4: Go to Ethernet Properties
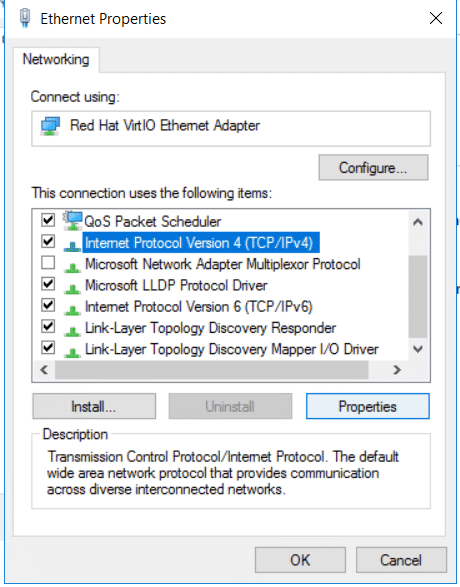
Click on Properties and select Internet Protocol version 4 (TCP/IPv4) and click Properties.
Step 5: Configure the main IP address
You are able to configure the main IP address of your machine here Select Use the following IP address if it’s not selected.
Fill in the following using your details in your client panel.
IP address :
Subnet Mask:
Default Gateway:
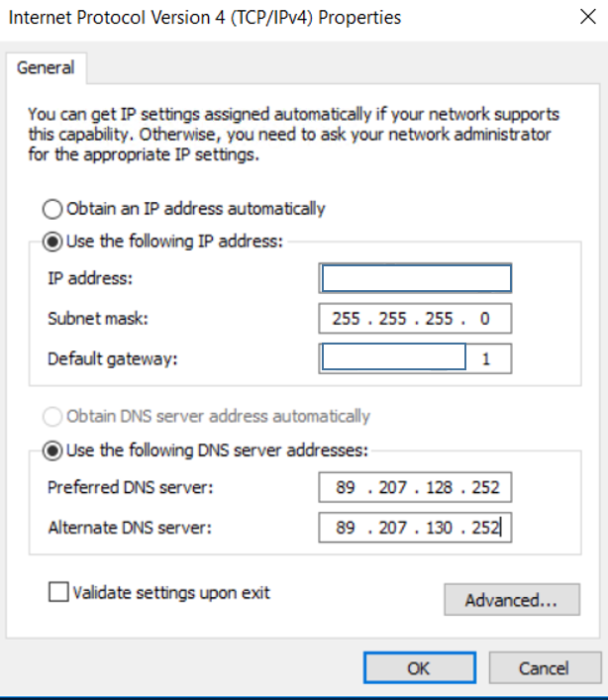
You can find these details in your client panel see below.
You can find it under Services > My Services -> Service Details tab.
In Server Information, You can see: Server Network Configuration.

Now, You have everything you need to configure your static IPv4.
Step 6: Add multiple IP addresses
By clicking Advanced you will be able to add multiple IP addresses.
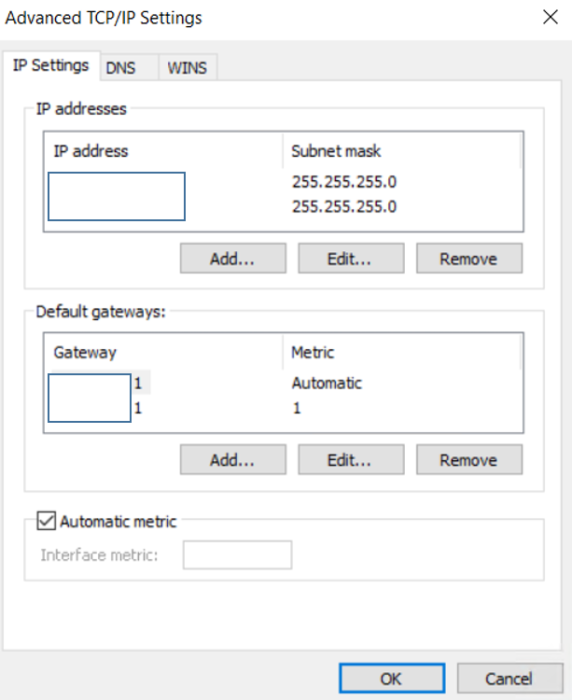
Step 7: Add additional IP addresses
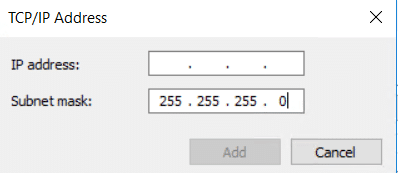
Click Add under IP addresses to add the additional ipv4 address(es).
Step 8: Add additional Gateways
You will need to add the additional gateways in case these are different from the main IP address. You can add this by clicking add under default gateways.
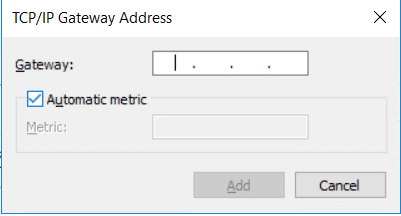
Repeat step 7 & 8 for each additional IP address.
Step 9: Verify configuration
You can verify the configuration by opening Windows Powershell and typing in.
ipconfig /ALL
In the following screen, you will be able to see the new IP address(es).
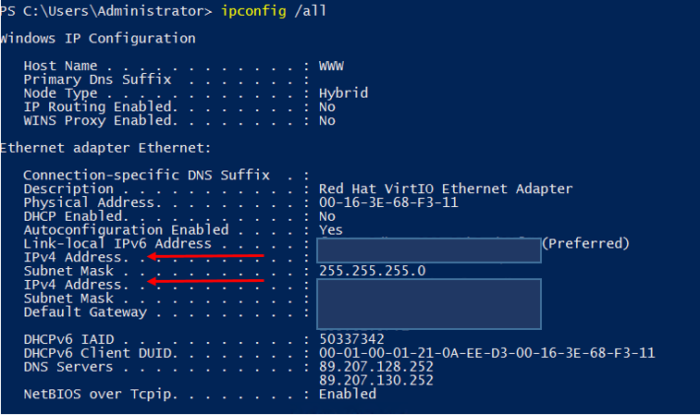
Finally, It is done!
Congratulations, you have configured your static IP on Windows Server 2012/2016.
